Did you see the December calendar download Jennifer posted this morning? So festive! We have another fun post for you, on the much-buzzed about topic of styling photos. Styling and taking photos for your blog is a pretty big deal these days, and we’ve talked about lifestyle photography on many occasions, from including blogger tips in our weekly resources to sharing our favorite camera equipment. I’ve photographed far more flatlays than I could ever count, and it turns out, I have a lot to say! So I thought I’d actually illustrate my process rather than just giving you a list of tips.
Notebooks, desk accessories, and décor are my favorites to style—mostly because it’s what I have on hand, and it’s a super attainable photo to create. If you want to practice styling yourself, I’d say to look around your home and think of what would look good in a photo. A theme will eventually emerge, and for Jennifer and I it’s often office or craft supplies!
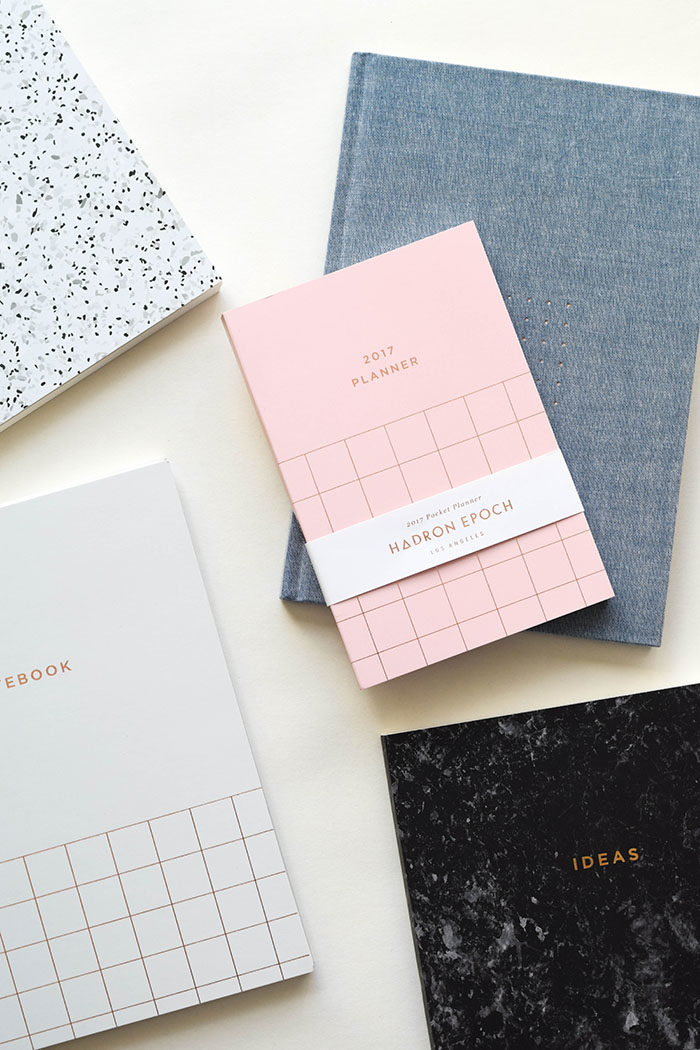
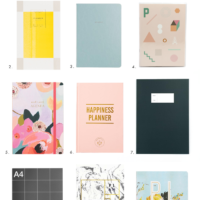
I go through a ton of notebooks as a writer and Hadron Epoch Design has become one of my favorite LA brands. Considering how much I always end up photographing their product, their new 2017 line of notebooks + planners are the perfect subject to illustrate my tips with. Aren’t they pretty? Onto the tips…
5 Tips for Styling Better Blog Photos
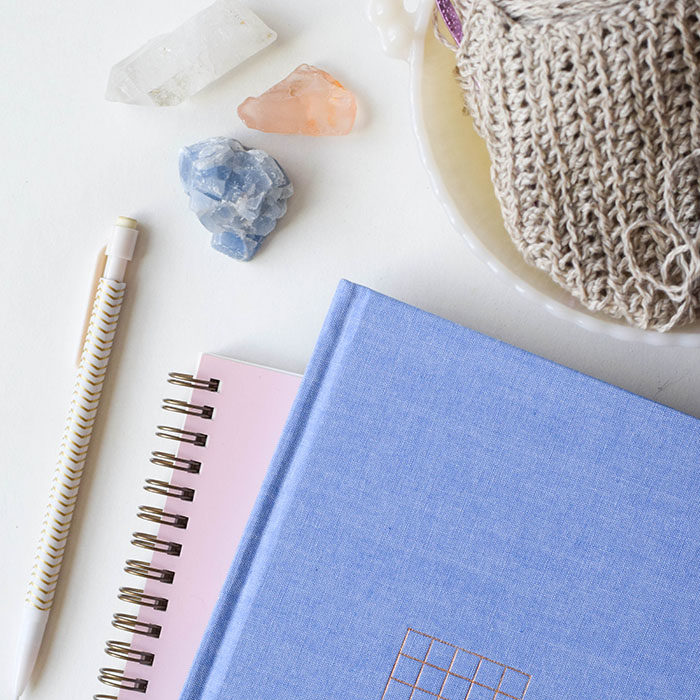
1. Work around shadows – You’ll probably read a million blogs telling you to photograph near a window (or even outdoors, I used to take these photos on my balcony!), for the best natural light. It’s a great trick for newbie photographers because you don’t have to do much adjusting to your camera. But one thing to be aware of is shadows. Arrange your pieces on your backdrop and take test photos to ensure that you’re not going to do a whole shoot with an annoying shadow. Move away from the light source, move the props, move yourself, try everything until you hit a sweet spot. It’s so much easier to combat this before the editing process.
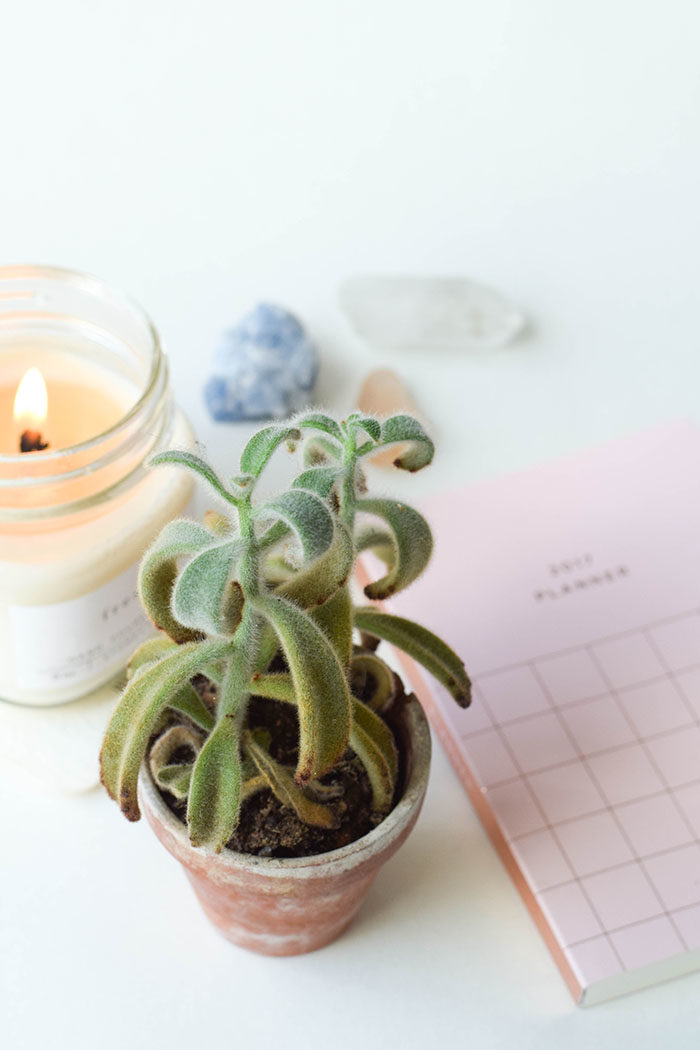
2. Add and subtract – If you start taking photos with your subject and a couple props and things just feel off no matter how you arrange them, you likely need to add or subtract. I usually prep for this by adding a few extra pieces from around my home into my photo setup so I can pull from extras if needed. Sometimes a simple plant can make a desk scene look complete. At the same time, if you have too much going on, particularly items of the same size and shape, you could be cluttering the frame.
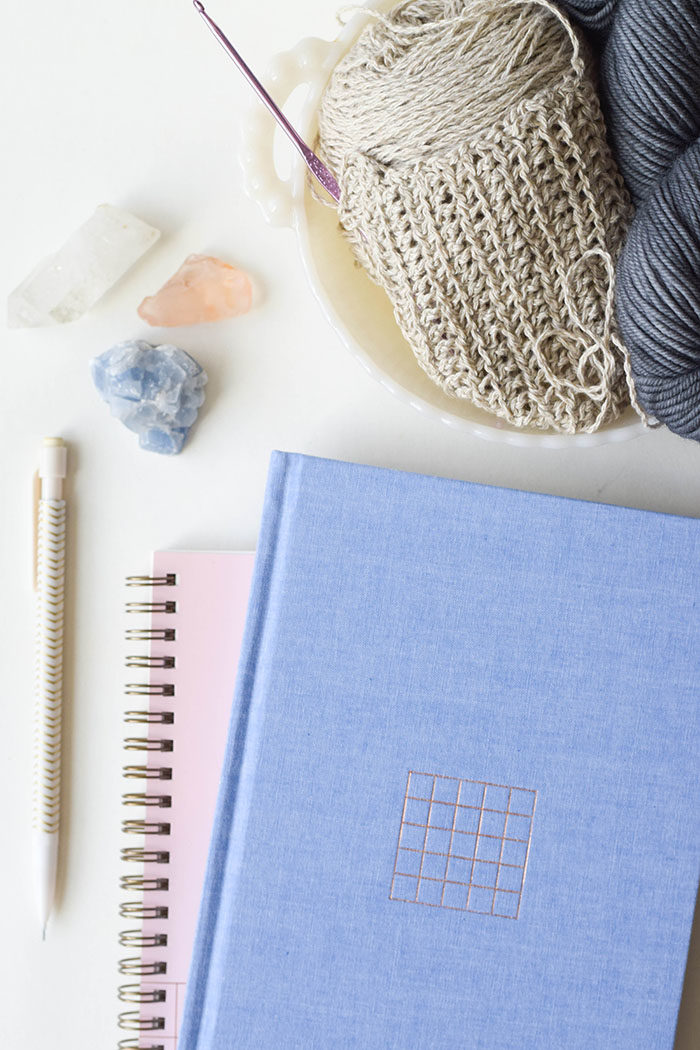
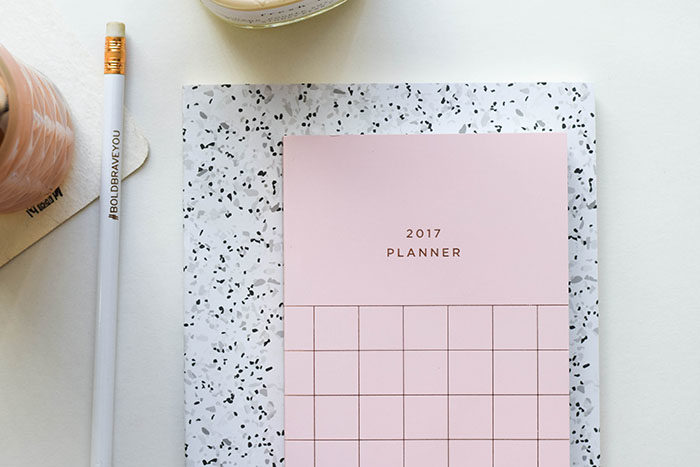
3. Remain spatially aware – This is a basic concept, but how far apart + the direction of pieces in your photo make a huge difference. I know this, yet sometimes I take 20 photos of the same scene without realizing that the pencil rolled under the notebook or the candle is too far away. I’m using home decor and office supplies as examples here, but this goes for really anything! I ended up moving this notebook away from the bowl to create this photo. Make sure to frequently check whether each thing is in its rightful place.
4. Make the frame work FOR you – Remember when no one used square mode for their Instagrams, and instead let it auto-crop? Instagram photos improved instantly once this trick got out. That’s because when you work within the frame you’re given, you automatically have a vision for where things should be arranged (see above!). Working in a frame puts a kind of constraint on your work that will challenge and ultimately improve it. If you’ll be pushing blog photos out on social, don’t think so much about the crop but coming up with a slightly different style for each frame you have.
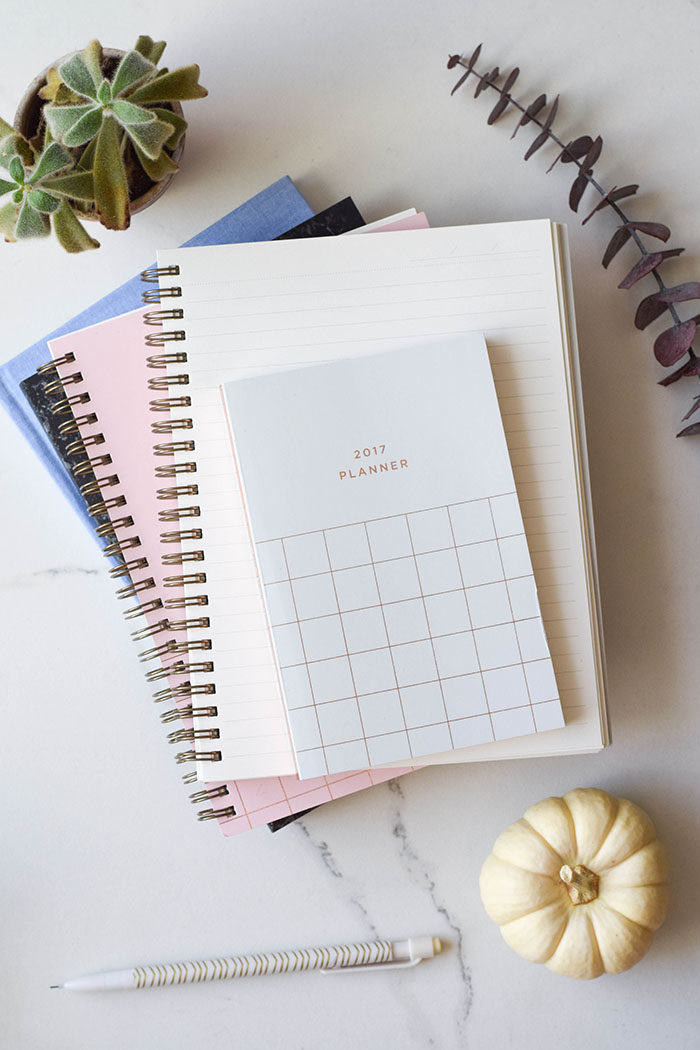
5. Add something unexpected – You can’t go in an add a cool subject after the fact, it has to start with the styling. That’s why when I feel stumped, I’ll walk around my apartment – to the bedroom, my office, the craft drawers – and look for something that will take my image up a notch. Here I threw in some dried eucalyptus at the last moment. In another, I placed my yarn bowl, even though this post wasn’t about yarn. As long as it flows with the subject, it doesn’t have to be directly related. But of course, it’s up to you to decide what fits!
What kind of blog photos do you have to style + take most often? Share your tips below!
PS: Los Angeles friends, you can meet Hadron Epoch in person at Unique LA Holiday this weekend! They always have some of the best deals at the market.
Featured notebooks c/o Hadron Epoch Design: 2017 Pocket Planner, Spiral Notebook, Ideas Notebook Curava Midnight, Grid Journal Light Steel, Dotted Journal Ink, Ideas Notebook Charcoal, Mechanical pencil: Target, Yarn: Conscious Shop Collective member Josephine Yarns, Fern + Moss candle: Brooklyn Candle Studio


Natalie says
Thanks so much for this, I really need to start working on my blog photos and this has given me some great food for thought
– Natalie
http://www.workovereasy.com
Molly says
This is such a useful set of tips! Thanks for sharing :) Molly x
http://www.mollipop.co.uk
Aleeha says
Thank you for sharing these tips!
Aleeha xXx
http://www.halesaaw.com/
Da Dominguez says
Thanks for the tips. As a newbie blogger and photographer, I’m still looking for effective ways to create interesting and eye-catching posts and photos. Will definitely take not of these ones.
xx, The Diary Queen
Michelle says
Its my first time in your blog and i really just loved!!!
Não se atreva,
xx
Angela says
Thank you Michelle!
Vio says
These are great tips! I would only argue a little about the shadows: including carefully placed, creative shadows in your photography could boost the overall aesthetic appeal of a photo, especially in a world full of objects perfectly isolated on white backgrounds. Yet, every photographer has their own style, so it’s a matter of personal choice.
Thank you for sharing!
Angela says
Thanks for the tip, I totally agree! I’ve been seeing so many great photos making wonderful use of shadows lately as well.