Photography and lighting in particular are quite the hot topics in blog world. This didn’t matter so much back in the day, but now your photos make or break you, whether or not you do it for business or pleasure. Sad day for those who dislike being behind the camera! I’ve always experimented with photography as a hobby but never did I think one image would be so important. All this has been on my mind lately as I just moved into a new apartment and I *officially* have an office space! It’s more of a dining space turned pseudo-creative studio but I think you get how amazing this is to a crafty girl slash freelancer. What’s more, it is filled with tons of glorious natural sunlight. Swaths of it, even. (If you’ve apartment hunted in Los Angeles you know how this not only rarely comes along but it’s extra rare to be in a normal person’s price range. Whoo hoo!) All this has me thinking back to oh, three weeks ago, and the past six years of blogging in the most makeshift of studios.
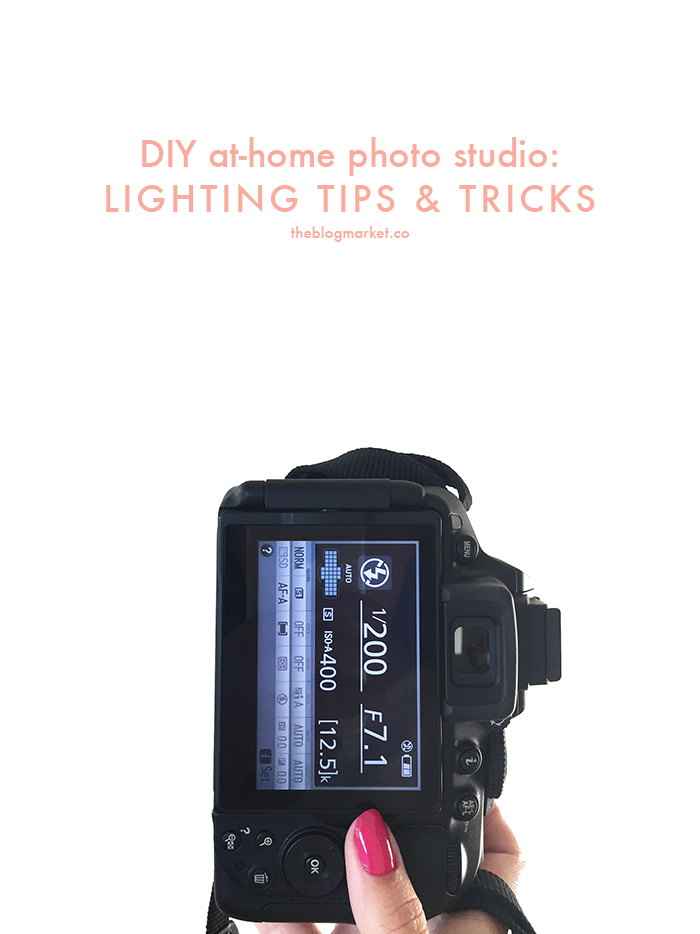
Before, I had no lighting, no space, not the best camera, and a lot of other factors making it really difficult to take blog or Etsy or DIY photos—which made all those things not so fun. Googling “DIY photo studio” usually brings up a list of bloggers who suggest studio lighting, multiple lenses, etc, basically things that add up, all to create ideal conditions for those coveted blog photos. All that is really amazing and aspirational and we all want to get there one day, I feel like it can’t be realistic for everyone, especially those just starting out. So consider this little three part series for those of you in the interim–you’ve got a bedroom, maybe; perhaps even a little corner by a window, but not much else. Here are a couple of shortcuts in the lighting department, that always helped me get by:
You can’t fake natural light
From living in dorms to basement apartments to my last place that got no light at all, I’ve somehow always ended up in places that hide from the sun. If you like the look of most successful lifestyle/design blogs’ photos, you really can’t go without it, but you can:
Chase the light. Tweak your schedule if possible. Even when I wanted to shoot in mornings, I usually needed to wait until the afternoon to get any sun. So I did all my other work during the morning, prepped, and shot around 3 pm when I had photos to take. If I had work or school, it definitely meant planning for the weekends. I tend to make Sunday a shooting day.
Set up outside. People are wary of this because direct sunlight is just as bad as none at all. But if you don’t have much light inside, chances are your office or home is fairly out of direct sun too. I’d bring my paper, camera, and subject right outside my front door or on my balcony to shoot. It can be a pain but I’ll cover how to quickly set up your “studio” later on!
Make the most of your sliver of sunlight
Switch up your angles. Lots of people advise to find a window to shoot by. Totally agree, and I’d add to make sure you’re testing a photo from every angle. One way to guarantee the best shot is to take photos of the same item while you physically rotate–take a photo, then a step, then a photo, etc., then review them to really get a visual for the best spot to stand and shoot.
Switch up your devices. I have my Nikon dSLR, a few fairly basic lenses, and an iPhone 6. There has actually been a surprising amount of times that I’ve chosen the phone. Sometimes it works better in low lighting and making the most of what’s there; sometimes it just means I don’t have to spend time messing with the settings on my camera while the light fades away. Hey, whatever saves time.
Where’s your shooting spot? Do you have a home office, studio, nook? Do tell!
I’ll be chatting about equipment of the inexpensive variety next week.


Carly says
I love my Canon Rebel, but my iPhone really does do the trick most of the time!! My apartment is almost entirely windows, so I never struggle to find light…it’s actually the opposite. I’m always avoiding harsh light and shadows! Thanks for the tips though, I’ll definitely be putting these to use.
http://www.theclydescope.com
Alexandra says
I’m lucky enough to have a sunroom at home but it’s in such disarray right now – I’m definitely inspired to clean it up!
Warm Regards,
Alexandra
http://www.littlewildheart.com
Amanda says
I just purchased a DSLR camera and needless to say, there’s definitely a learning curve! When shooting in low light I have been struggling, so I try to avoid it as much as possible. I can’t wait for your next posts in this series! (:
Amanda
http://www.blissfulgal.com
Laura says
Great tips! I always love reading what others do to make photos work. I have a Canon DSLR, but I’m still trying to figure out how to work it. Can’t wait for your next post about equipment!
Janie says
Yay iPhone! Good to know that at least intro pictures can look good while I save up for some great staging equipment! Thanks!
Angela says
For sure! I was so surprised at how well the iPhone worked when I was holding out for my new equipment.
Courtney says
This has been really helpful! I have the iPhone 6, but I think I need to play around a bit more to get the best shot!
Heather says
I am loving these posts! Thank you for all of the great tips! What did you use to take the photo of the cameras on the marble? I love that shot!
Angela says
Thanks! Trying to remember but I think I used my boyfriend’s phone so I could get all my equipment in! He has the Galaxy Note.