Good morning! Have you been following along with our DIY photo studio series? If not, you can catch part I on lighting and part II on equipment. Once you have a well-lit area and the right camera, you’re ready to set up camp. I finally have a teeny space for taking photos—but sometimes you just have to set up a studio right in your living room. These tips will hopefully help in either scenario. Onto the setup…
The Location
For creative blogging, consider where your photos will be primarily staged. This was a huge issue for me last year when I was doing a lot of home décor DIYs. I didn’t have one good wall to hang things on, which I needed. Think about whether you need a wall (or a faux wall, like a piece of photo paper either hung up on a stand, string, or nailed into the wall—it’s truly a DIY effort). I was able to use thumbtacks to hang a large white backdrop behind my desk, and I’d move it when I needed to hang clothes for my Etsy shop or display a décor DIY. I had to then string those items up. I’d prefer to have had a stand for my paper in order to keep it clean, but it just wasn’t possible with my space or budget.
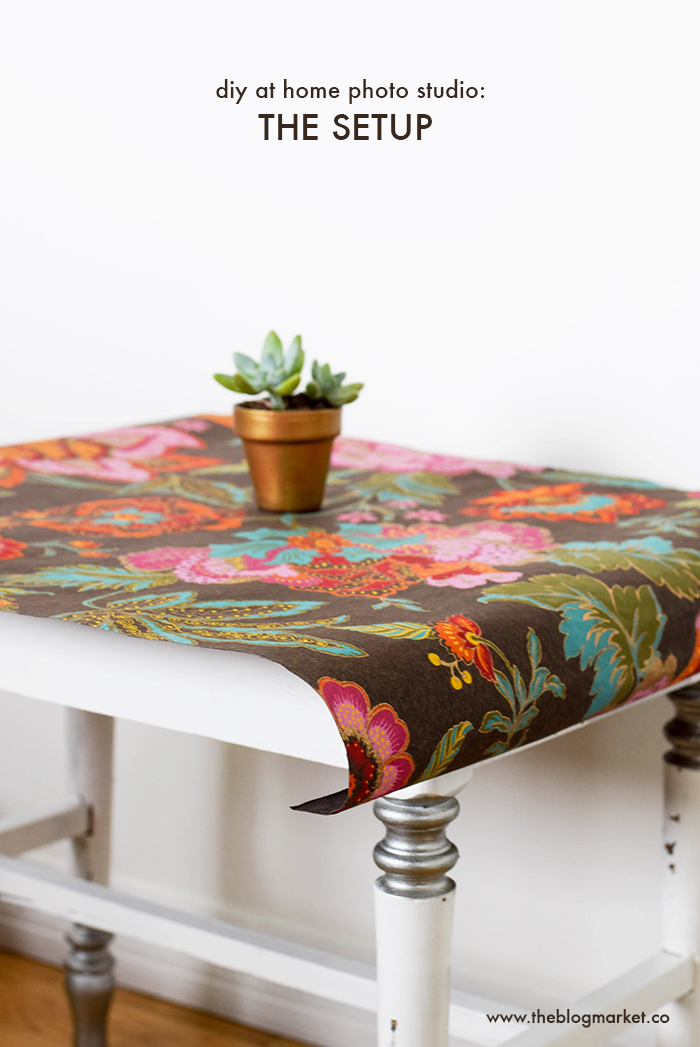
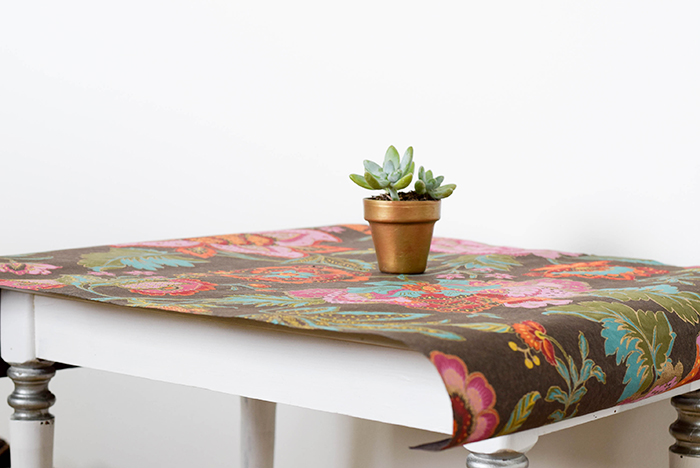
There’s also the ground or a table. When I moved, I immediately painted the walls in my office white just so I didn’t need to deal with a backdrop. But I do a lot of styled photos, so I keep my roll of photo paper handy and unroll it in the room when I need to style for a blog post. I’m also strategic about my furniture, and my desk is white, making it an appropriate backdrop for the work I do. If you’re shooting on the ground or a table, think of backdrops, too. This old little end table works as a white backdrop and it’s easy to throw paper over.
The Backdrops
You really only need one or two good backdrops for your blog photos, in my opinion. The only reason I have so many (besides being indecisive) is for work, but for my personal blog I use two backdrops: the large roll of photography paper, and a small cream colored roll of mesh canvas. Other ideas are a piece of wood, slabs of tile, your own furniture, throwing a table cloth over furniture, wrapping paper with a nonseasonal pattern, marbled contact paper—the list goes on. I also love Paper Source and Papyrus for fun prints when I want something more creative. Head to the craft store, hardware store, or a thrift shop and go crazy. The only real requirement is that you’re fairly consistent, because this backdrop serves as part of your brand’s identity, even early on. Definitely try a few out but then decide on a style and stick to it.
The Props
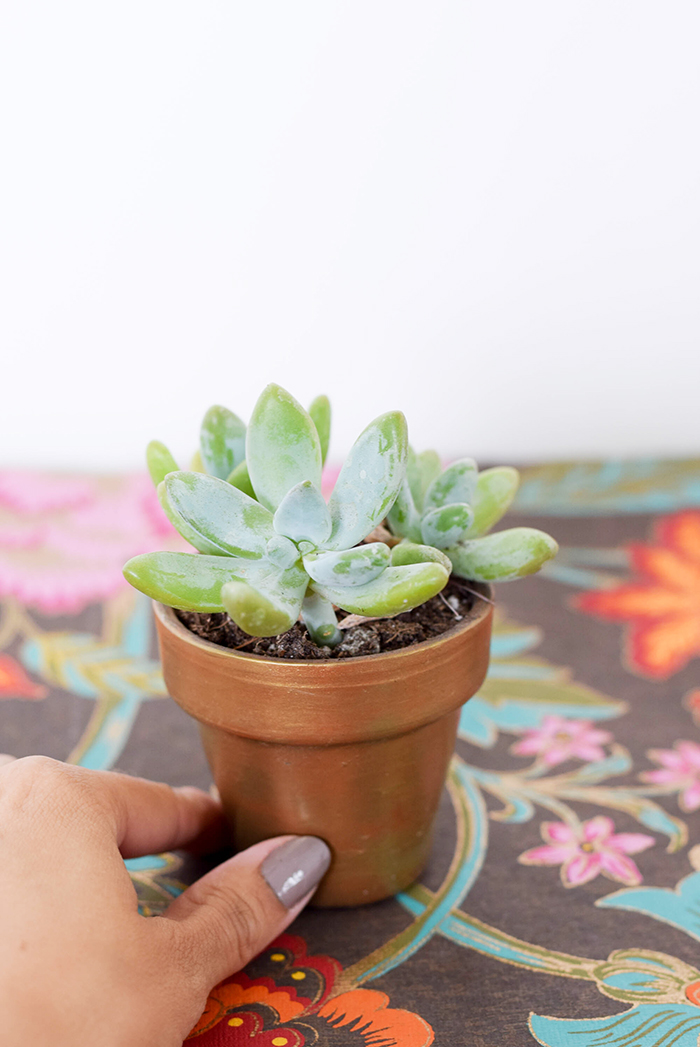
Once the majority of the DIY part of the studio is finished, it’s time to get creative with the styling. While the camera and location are huge behind-the-scenes considerations for your photos, the props are what make what’s actually in the photo come to life. You can obviously be super minimal or more involved. I’ve seen and loved both. As long as good composition and interesting subjects are involved, you really have the freedom to experiment with props. I honestly look at the #flatlay tag all the time on Instagram when I’m feeling uninspired—every photo there (that’s tagged correctly) is a result of someone experimenting with props or products. Usually they want to blog about a few essentials, and putting a couple of extras in the mix makes them stand out. A few of my fave props to keep around “the studio” are plants, candles, pens, notebooks (oh, how I love creative notebooks), and killer latte art. Not only do they make for interesting blog photos, they make it easy to share on social media. Usually when I’m doing a craft, I’ll take a few photos for social, because while the tutorial itself won’t need props, a good shareable image can usually use them.
Okay, that concludes my series! But I’ll still talk photos in the future, since they are such a huge part in any blogging project. Know of some bloggers with great photos taken from home? We’d LOVE if you could share a post you’ve seen recently that had inspiring photos… So please let us know if one comes to mind. :)


Kayli Schattner says
All fabulous tips! I recently got more serious about my IG styling and need to get my office space set-up + readily equipped for more in-depth home decor posts…it’s so frustrating but I know the high quality photos will make up for it!
Kathryn J says
I’ve really enjoyed following this series, thank you for these tips. I’ll definitely search for that hashtag for ideas. It does make such a difference when a blogger puts thought into how they style their photos. I started following a blog called ‘Take Courgage’ recently partly because the photos were so beautifully crafted. This post below is the one that converted me into a reader (hope you are OK with links) I think you’ll like it too!
http://www.takecourageblog.com/2015/05/no-big-deal.html
Angela says
So glad you liked the series!! And thanks for sharing that blog, SUCH beautiful photos!