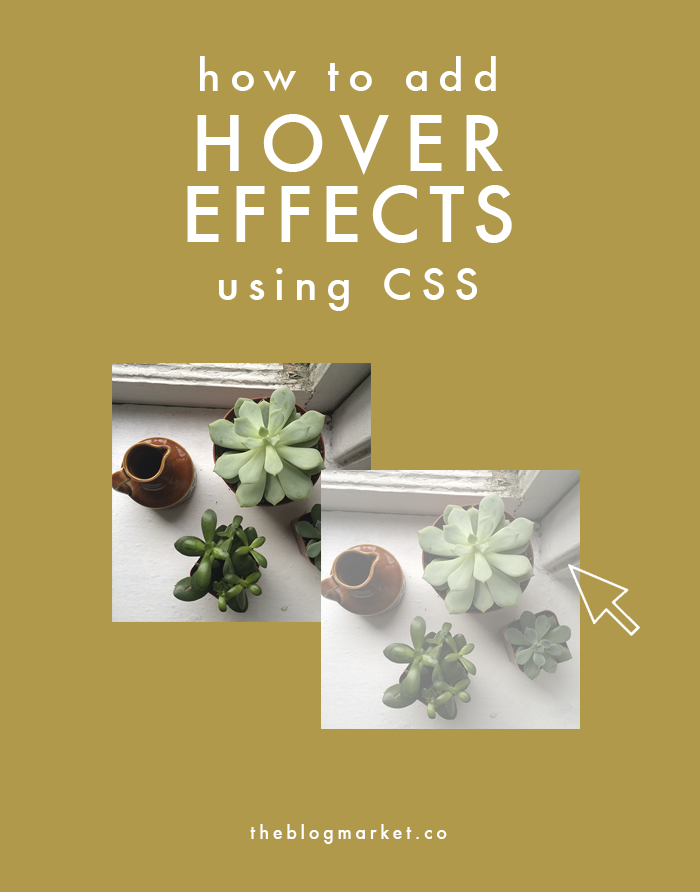
I believe that hover effects can make or break a website. They can add a touch of surprise, or they can drive your readers crazy. When used in a good way, they can make any website just a little bit more fun. I love when a header has a really subtle hover effect, like Jen’s header here. I also think it’s super important to utilize hover effects for your links. Otherwise, people might never find them in that sea of plain black text!
There are quite a few ways to use hover effects that are easy on the eyes. Let’s learn some CSS, shall we?
(If you’re brand new to CSS, it might be helpful to read this Intro to CSS post before moving forward.)
First, there are a few definitions to go over. The a selector in CSS signifies a hyperlink. It’s followed by a set of brackets with the attributes enclosed. Immediately after the a, we’re going to add :hover, which is called a pseudo class. This means that we’re styling the element in a special state (like when a cursor hovers over it). You can add :hover to any selector in CSS to change its hover effect, but today I’ll mainly be working with links and images.
1. Change Text Color
The CSS behind a regular styled link might look something like this:
a {
color:#000000;
}
To add a hover effect, you would also include this code in your stylesheet:
a:hover {
color:#ffddca;
}
2. Change Background Color
a:hover {
background:#b0994b;
}
3. Add Underline Effect
a:hover {
text-decoration:underline;
}
4. Change Cursor Style
a:hover {
cursor:default;
}
a:hover {
cursor:pointer;
}
a:hover {
cursor:crosshair;
}
5. Add a Border to an Element
div {
border:3px solid #393939;
}
(replace “div” with your class or id)
6. Change Image Opacity
To add an opacity hover effect for just the single image below, I turned it into a class by adding class=”vintage-dress” to the HTML <img> tag. Then I went into my CSS editor and added the following code:
img.vintage-dress:hover {
opacity:0.5;
}
Remember that instead of using a:hover, you will use img.class-name:hover.

There are so many other attributes you could use to change the hover state of any element. For more options, check out this handy CSS Cheat Sheet.
If you have any questions, feel free to ask them in the comments below!


Gina says
Such a great tutorial! CSS is such a great skill to have in the blog world. Plus, sometimes we don’t realize how much hover effects can create a more dynamic blog experience. I think they are a must in designs–especially with links!
Jennifer says
Thanks Gina! I totally agree. As a blog reader, I’m always drawn to blogs with even the most subtle hover effects.
Renaud says
Really great tutorial!
xoxo
Laura Hager says
This is amazing! Thank you so much for the tutorial!
Josh says
Great explanation. How come only the first effect ( changing text color on hover) worked on my Win10/Chrome PC?
I love hover effects. Is there an equivalent for non-mouse devices (smart phones & tablets) ?
Jennifer says
Thanks for pointing that out, Josh! I need to go on and fix those graphics.
I’ve found that some hover effects do work (briefly) on smart phones & tablets, but unfortunately it’s mainly visible on regular computers with mouses.